这段时间对VLFeat的C接口非常的感兴趣,以前用的都是其Matlab接口,虽然很方便,而且提供的Matlab接口要比C接口功能更强大,但Matlab终归只能用来做一下快速的方法验证,所以想比较完整的去学习它的C接口。谷歌其C接口方面的资料能够查到的也非常的有限,所以后面只能慢慢的啃官网提供的文档了。这篇VLFeat SLIC超像素分割的主要参考的是Running VLFeat’s SLIC Superpixels using CMake and C++对这篇文章,可以当做是C接口调用的入门。
其实前几天就在Win7下跑过该代码,代码写的非常的简洁和便于理解,源代码用CMake方式进行编译,不过本小子一般都用IDE,所以就先在VS2010里面做VLFeat做了下配置,VLFeat在VS里面的配置非常的简单,怎么配置可以参阅Vlfeat图像库在vs2010,vs2012下的配置这篇博文,官网也提供了在Visual C++ Express 2008 on Windows XP,有点老还是建议按第一篇博文来,整个配置下来非常的简单,另外还需要配置OpenCV2.x,本小子的VS2010里已经配置好,如果没配置的话,可以参阅网上大把的资料。配置完后把代码复制过来便可运行了。也可从这里复制:
//
//  main.cpp
//  vlfeat-slic
//
//  Created by willard on 15/7/9.
//

#include <iostream>
#include <opencv2/opencv.hpp>
using namespace std;
using namespace cv;

extern "C"{
#include <vl/generic.h>
#include <vl/slic.h>
}

int main(int argc, const char * argv[]) {
    // insert code here...
    std::cout << "Hello, World!\n";
    VL_PRINT("hello, VLFeat!\n");
    // Read the Lenna image. The matrix 'mat' will have 3 8 bit channels
    // corresponding to BGR color space.
    Mat mat = imread("/Users/willard/Pictures/Lenna.png", CV_LOAD_IMAGE_COLOR);

    // Convert image to one-dimensional array.
    float* image = new float[mat.rows*mat.cols*mat.channels()];
    for (int i = 0; i < mat.rows; ++i) {
        for (int j = 0; j < mat.cols; ++j) {
            // Assuming three channels ...
            image[j + mat.cols*i + mat.cols*mat.rows*0] = mat.at<cv::Vec3b>(i, j)[0];
            image[j + mat.cols*i + mat.cols*mat.rows*1] = mat.at<cv::Vec3b>(i, j)[1];
            image[j + mat.cols*i + mat.cols*mat.rows*2] = mat.at<cv::Vec3b>(i, j)[2];
        }
    }

    // The algorithm will store the final segmentation in a one-dimensional array.
    vl_uint32* segmentation = new vl_uint32[mat.rows*mat.cols];
    vl_size height = mat.rows;
    vl_size width = mat.cols;
    vl_size channels = mat.channels();

    // The region size defines the number of superpixels obtained.
    // Regularization describes a trade-off between the color term and the
    // spatial term.
    vl_size region = 30;
    float regularization = 10000.;
    vl_size minRegion = 10;

    vl_slic_segment(segmentation, image, width, height, channels, region, regularization, minRegion);

    // Convert segmentation.
    int** labels = new int*[mat.rows];
    for (int i = 0; i < mat.rows; ++i) {
        labels[i] = new int[mat.cols];

        for (int j = 0; j < mat.cols; ++j) {
            labels[i][j] = (int) segmentation[j + mat.cols*i];
        }
    }

    int label = 0;
    int labelTop = -1;
    int labelBottom = -1;
    int labelLeft = -1;
    int labelRight = -1;

    for (int i = 0; i < mat.rows; i++) {
        for (int j = 0; j < mat.cols; j++) {

            label = labels[i][j];

            labelTop = label;
            if (i > 0) {
                labelTop = labels[i - 1][j];
            }

            labelBottom = label;
            if (i < mat.rows - 1) {
                labelBottom = labels[i + 1][j];
            }

            labelLeft = label;
            if (j > 0) {
                labelLeft = labels[i][j - 1];
            }

            labelRight = label;
            if (j < mat.cols - 1) {
                labelRight = labels[i][j + 1];
            }

            if (label != labelTop || label != labelBottom || label!= labelLeft || label != labelRight) {
                mat.at<cv::Vec3b>(i, j)[0] = 0;
                mat.at<cv::Vec3b>(i, j)[1] = 0;
                mat.at<cv::Vec3b>(i, j)[2] = 255;
            }
        }
    }

    imwrite("Lenna_contours.png", mat);
    imshow("SLIC image", mat);
    waitKey();

    return 0;
}
VLFeat中SLIC函数具体怎么调用,可以参考对slic.h,这里面对参数的传入说的还是比较好理解的:
The function computes the SLIC superpixels of the specified image image. image is a pointer to an width by height by by numChannles array of float. segmentation is a pointer to a width by height array of vl_uint32. segmentation contain the labels of each image pixels, from 0 to the number of regions minus one.
Mac下的配置,哈哈,其实这才是我要说的重点。因为现在我的MBP只用而且以后也只会装一个Mac系统了,所以要在宿舍里也能玩VLFeat的话,得把VLFeat在Xcode里搞起。Mac下怎么安装OpenCV可以参阅我前面的Mac下安装OpenCV3.0和Anaconda和Mac下OpenCV3.0和OpenCV2.x自由切换,另外推荐一篇Xcode下配置OpenCV非常不错的博文Mac10.9安装OpenCV2.4.8及在XCode5中的使用,本小子在配置OpenCV就是按照这个来的,配置后完美运行OpenCV方面的程序。为了比较清楚的描述整个配置过程,可以按照此流程来:建立项目,配置OpenCV,然后再配置VLFeat,VlFeat配置可以参考官网给出的方案Xcode,在官网最后给出的一个处理动态链接库的方式,我尝试了很多次,就是通过从Xcode里将动态链接库添加进编译过程:
To copy libvl.dylib in the executable directory, we add a Copy Files build phase to the project. Right-click the vlfeat-client target in the project panel and select Add > New Build Phase > New Copy Files Build Phase. Select Destination: Executables. Then drag-and-drop the libvl.dylib item from the panel to the Copy Files build phase.
试了很多次都没有成功,后来干脆不这么玩了,编译完后,在出现下面错误的时候:
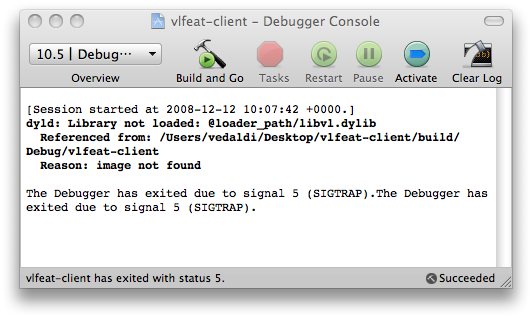
把libvl.dylib(注意是64位的,因为Mac OS从某个版本后就全部都是64位系统了)拷贝到Debug目录下面就可以了。
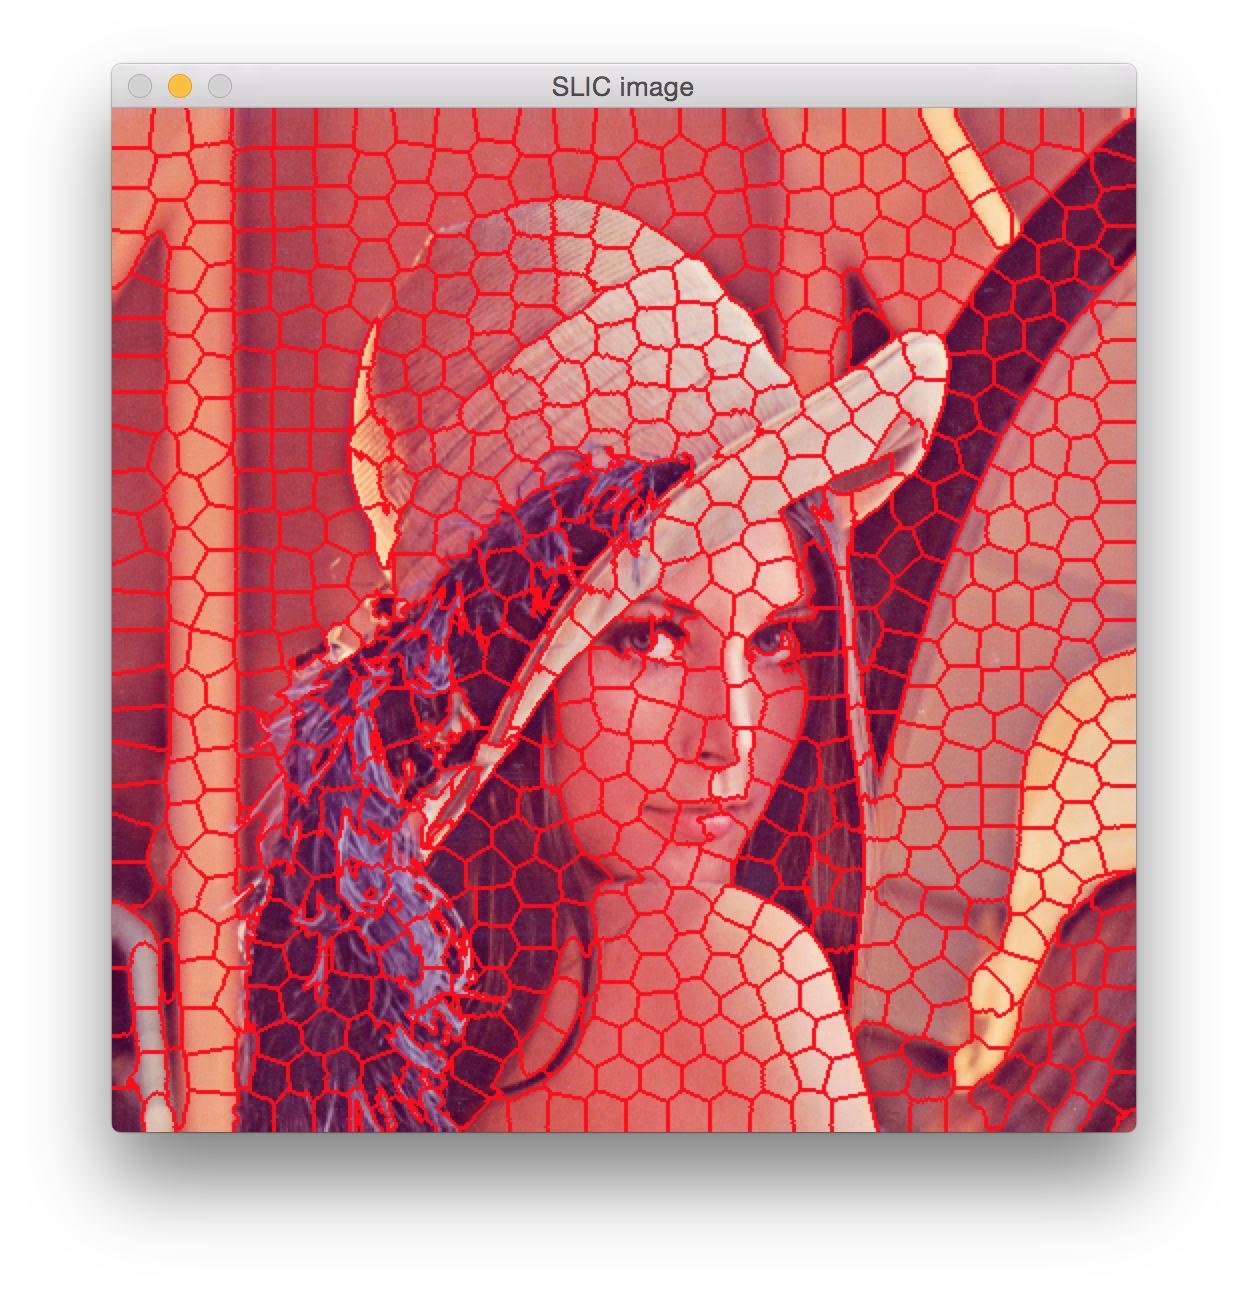
下面是一些超像素分割结果,保持region = 30和minRegion = 10,变化regularization。
regularization为10000的结果:
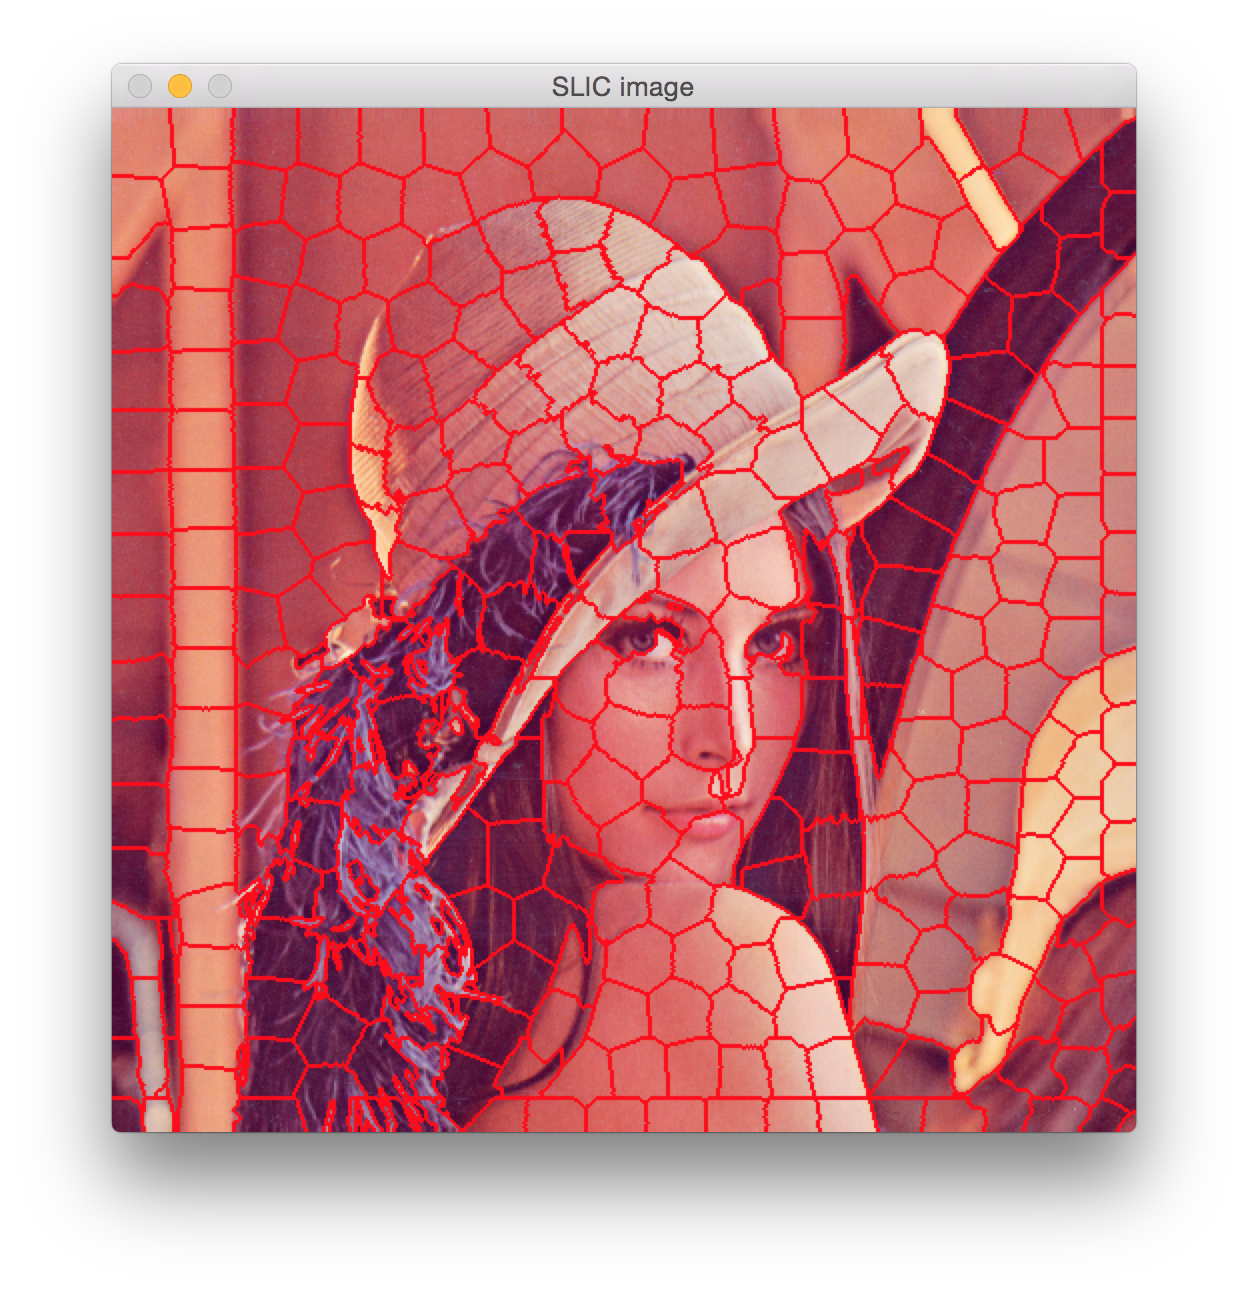
保持regularization = 10000和minRegion = 10,变化region,region为20的结果: